
- Best Violin Stand Options Guide - May 26, 2022
- Best White Violin Options - May 22, 2022
- How to Find the Best 7/8 Violin - May 19, 2022
Musical instruments can be a confusing world, and the viola is no exception to this. Finding the right size and the right brand can be difficult, let alone learning the playing techniques! However, perhaps the most confusing aspect for me when I was first learning the viola is the tuning – I wish I had some sort of viola tuning guide back then to help me out.
If you struggled with similar problems, you’re in the right place, because I have prepared exactly that – a viola tuning guide! Whether you are brand new to the instrument, tuning your child’s instrument, or simply need a refresher on viola tuning, you will find all you need to know on this niche but important skill in this guide. Read on to find out more!
Bottom Line Up Front: Unless you are an experimental musician, violas should generally be tuned with the lowest string as C4, then G4, and D4, followed by the highest string at A4. There are a ton of software and hardware tuner options to help you tune your viola, but the KILQ MetroPitch Metronome is one of my personal favorites.
The Importance of Viola Tuning
Before we get started, I thought I’d take a moment to explain exactly why viola tuning is important. If you’ve already learned a stringed instrument then you are probably fully aware of this, so you might want to skip ahead. However, if you’re a viola beginner and it’s your first instrument, read on!
Like every stringed instrument, the viola needs to be carefully tuned to maintain the rich tones that it is known for. Each string has a particular note that it is supposed to be tuned to, and this will allow you to perform pre-written compositions, as well as compose new pieces of music for others to learn. Whilst experimental violists often turn to alternative tunings, there is a standard tuning when it comes to the viola – C4, G4, D4, A4.
You should be aiming to tune your viola every time you pick it up – this becomes especially important when playing in orchestras or performing session work. Tuning your viola is also a key element in growing and improving your musical intuition and listening skills. With time and practice, you can learn to hear the frequencies and intricacies in the perfect fifths you are tuning, which in turn will do wonders for your skills in listening and improvisation.
Ensuring your viola is in tune when performing as part of an ensemble or orchestra is of utmost importance. Nobody wants to be the guy hitting the flat note at the end of a beautiful passage of music! Simple precautionary steps before rehearsals and making sure you are always on your A-game with tuning (pun not intended!) will wipe out any risk of this happening to you.
So, without further ado, let’s take a look at some of the details regarding viola tuning. We’ll begin by taking a look at some secondary details such as whether you should use a tuner. Then, we’ll be moving on to my step-by-step guide to viola tuning, followed by some recommendations of the best tuners on the market.
Viola Tuning: Should You Use a Tuner?
You may have witnessed experienced viola players tuning their instruments by ear. It is possible to become very skilled in recognizing the all-important perfect fifth interval, and even becoming pitch-perfect. However, I always recommend that my students have a tuner on hand.
The reliability of a tuner can be a life-saver if you are tuning your viola quickly before a recital, or taking your instrument on the road. It is also a great tool to use whilst you are in the process of training your ear- these things take time! Personally, I wouldn’t go anywhere without a tuner.
It’s worth knowing that there are many different types of tuners – some people swear by the classic tuning forks used in the old days, but I think that’s a bit antiquated and ridiculous. The two main forms these days are digital hardware tuners and mobile application tuners. I’ve always been more of a hardware tuner person as I simply trust the electronics in them a little more than software tuners, but that’s just my opinion.
If you already own a tuner, get that ready, because I’m about to give you a guide to tuning with the aid of a tuner, as this is where I recommend you should start. However, if you do not currently own a tuner, I would recommend that you download a mobile application for it for now, such as the Tunable App (more on this later). If you’re not a fan of it, you can always buy a hardware tuner later down the line!
Viola Tuning Guide: Step by Step
Now that we’ve got all of that basic information out, let’s get started! Grab your tuner of choice, and get your viola ready, because we’re about to tune our viola together!
Step 1
Determine whether you are going to tune by plucking or using the bow. As you become more proficient and used to tuning and playing, I would always advise using the bow. However, for a beginner, it can be very beneficial to tune by picking. This takes out the extra step and can simplify the process whilst you are still getting a feel for the instrument. Many people believe that tuning using a bow can help identify the higher and brighter tones in the viola, and ensure they are properly nurtured during the tuning process. So, if you feel like you can manage to tune using the bow, then go wild!
Step 2
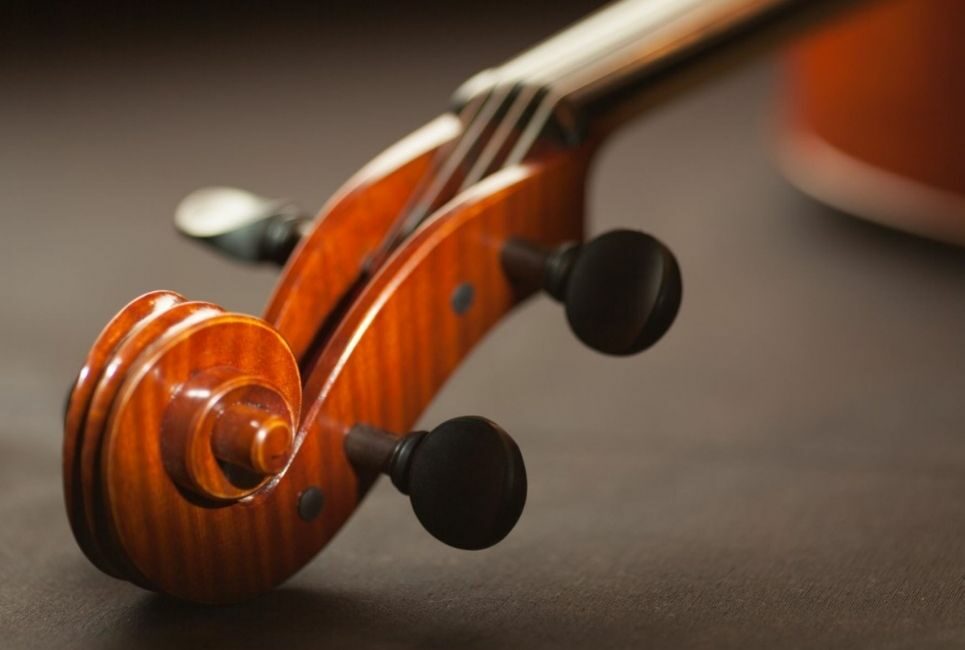
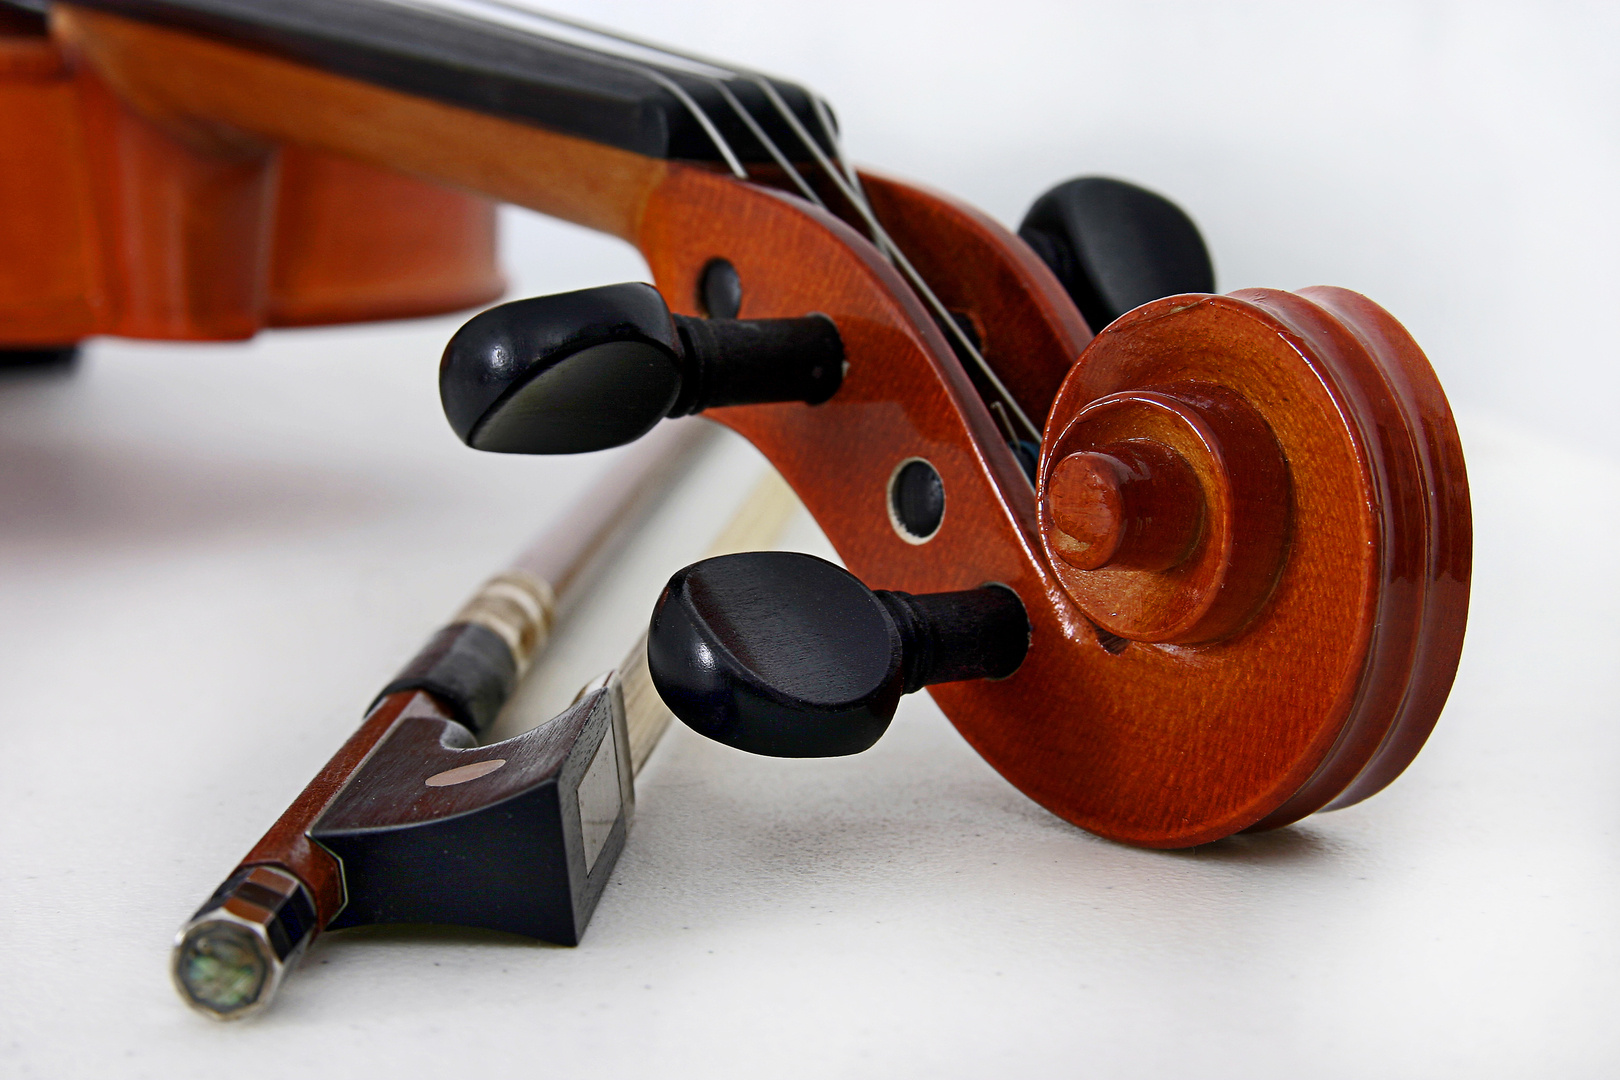
Now you’ve decided if you are plucking or bowing, it is time to get your viola in position. Sit down in a comfortable upright position and turn the viola to be facing away from you, with the scroll the farthest away and the bottom of the viola resting on your stomach. Make sure the viola is tilted upwards and you have a good view of your instrument and can reach both the scroll and fine-tuners with ease (the fine-tuners are the set of pegs at the very bottom of your instrument, we will be using these so it is important to have easy access to them).
Step 3
If you are using an app on your mobile phone to tune your viola (there are plenty of great ones out there!) then place your device on a flat surface (a table or windowsill will do) as close to your viola as possible. If you are using a clip-on tuner then attach the tuner to the scroll of your instrument, ensuring that the tuner’s screen is facing you and you have good visibility of it.
Step 4
This is a good time to familiarise yourself with the setup of your viola, as there are many different ways a viola could be set up. Every viola will have four tuning pegs at the top of the instrument. Many instruments also come equipped with finer tuners, which are smaller pegs at the base of the instrument. These are fantastic for beginners in aiding tuning, but anyone from a total beginner to a seasoned pro can use fine tuners.
If you are new to the instrument, I would recommend setting yourself up with fine tuners if your instrument did not come with them. Some people find they only end up utilizing the fine tuner on the A string, and the other strings are easily managed through the tuning pegs, however, I am a believer that it can’t hurt to have the safety net of fine tuners on every string. Nobody is ever going to look down on you for using fine tuners, I still use them to this day!
Step 5
Now you are set up it is time to start tuning. The strings on a viola (from lowest to highest) are C4 (an octave above the middle C), G4, D4, and A4. My time in orchestras has taught me it is good practice to always start by tuning the A string. This is because orchestras will always tune to A in unison, as every string instrument has an A string. Becoming familiar with tuning to A can help you further down the road in your professional music career in orchestral situations and is generally a solid skill to possess. By tuning to A first, I have noticed my students become able to recognize the sound of a perfectly tuned A fairly quickly, and from here tuning the rest of their viola falls into place pretty naturally.
Pluck or bow the A string and using both the tuner and your ear, establish whether the string is flat (too low) or sharp (too high). If your string is sharp, then tune it down below A before tuning back up. This is crucial, and the golden rule of tuning if you want your efforts to be worth it! Always tune UP to the note, as this means the viola is likely to stay in tune longer.
Step 6
Keep adjusting the fine tuners until the tuner indicates that the pitching is correct. If a string is very out of tune, you may need to use the pegs, but this should be a last resort as they are stiffer and often tricker to use. Do not fret (get it?) if you are not picking it up straight away, there are many YouTube tutorials available that break down the process and allow you to observe musicians tuning their violas. The vast amount of free resources online means you will never be alone when tuning your instrument.
If you are struggling to remember which way to turn your pegs or fine tuners, then remember this fun rhyme: Lefty Loosey, Righty Tighty.
Step 7
When you have tuned all your strings, double back and pitch-check them against each other. Tuning the strings individually is good, but ensuring that they sound balanced when played in succession is the key to ensuring your pieces will sound in tune. Learn to rely on your ear to tell you if something isn’t quite right. If one string is sounding a little flat compared to the others, go back and tweak and finetune until you are satisfied. Practice fiddling around with your viola will be the number one way in which you develop an ear for tuning it.
Step 8
Take a breather! This is by far the most important step. If you have been listening to the same note over and over again, you are likely going to become frustrated and unable to hear where you are going wrong. Step away from your viola for a few minutes, stretch your legs (your viola isn’t going anywhere!), and come back after a few minutes with a fresh perspective and set of ears.
When In Doubt, Ask for Help at a Music Store
If you feel that you are not getting anywhere or are not confident with your tuning, then take your viola along to a local music store. Most staff will be happy to assist you in tuning your viola and will often be fountains of knowledge. If you take your issue to them, they will be able to point you in the direction of gadgets and books that will be helpful.
Clip-on tuners and viola guidebooks may be just what you need to give you a nudge in the right direction. There is no shame in taking your instrument into a store to get help tuning it, and you never know- you may gain some valuable resources and mentors through doing it.
Alternatively, if you have an instrument teacher then ask them to run a session with you on tuning your instrument, and general maintenance of your instrument. There is so much more to learning an instrument than simply playing it! How you tune, clean, and take care of your viola will be the difference between an instrument that sounds beautiful and lasts, and one that simply does not. I believe you can always hear the strings sing louder when someone is invested in putting time and effort into caring for their viola.
My Top 3 Viola Tuner Recommendations
Now we have had a closer look into how you tune your viola, I would like to make a few suggestions on tuners that I have found to be particularly good at their job. This comprehensive guide will give a balanced review of my favorite tuners, citing their pros and cons alike so you can decide which gadget best matches your needs. If you are keen to hear other opinions, each of these tunes has plenty of customer reviews available to view online too. So with no further ado, let’s get into it!
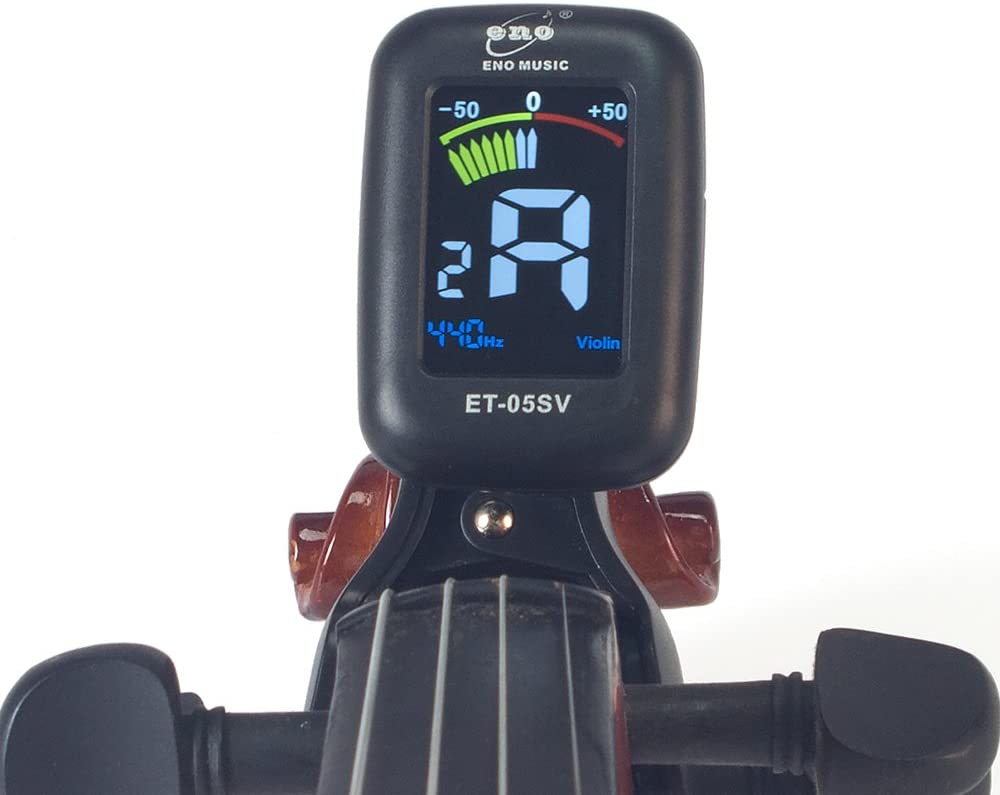
Eno Professional Violin and Viola Tuner
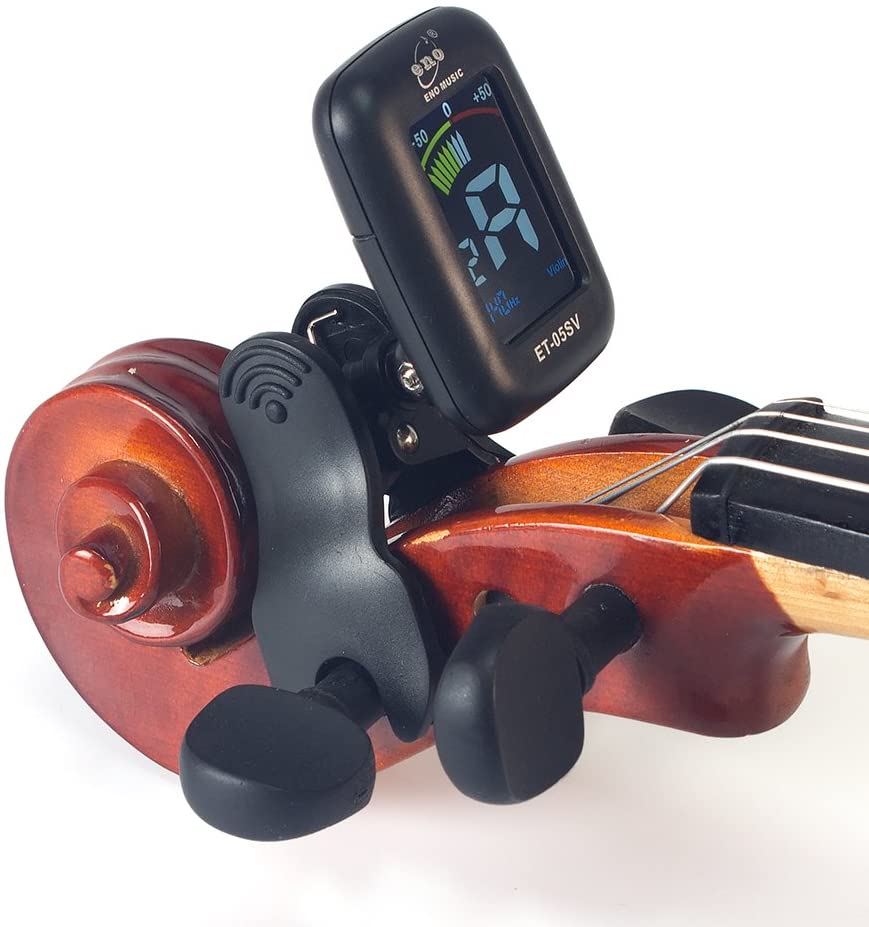
This small, versatile, and easy-to-use clip-on tuner is the answer to any busy beginner player’s prayers! The clip-on feature allows you to focus both your hands-on tuning and not have to worry about holding the tuner. It is also specifically designed to fit onto violins and violas, meaning you will never have any issues attaching it and keeping it in place. The affordable price also means that you can be sure you are investing in a trustworthy product whilst not breaking the bank. I think this would make an ideal first tuner or a tuner for someone who travels with their instrument a lot.
Pros
– Very affordable
– Compact and easy to carry
– Accurate and easy to use
Cons
– No metronome feature
– Will only work when clipped on
KILQ MetroPitch Metronome Tuner for All Instruments
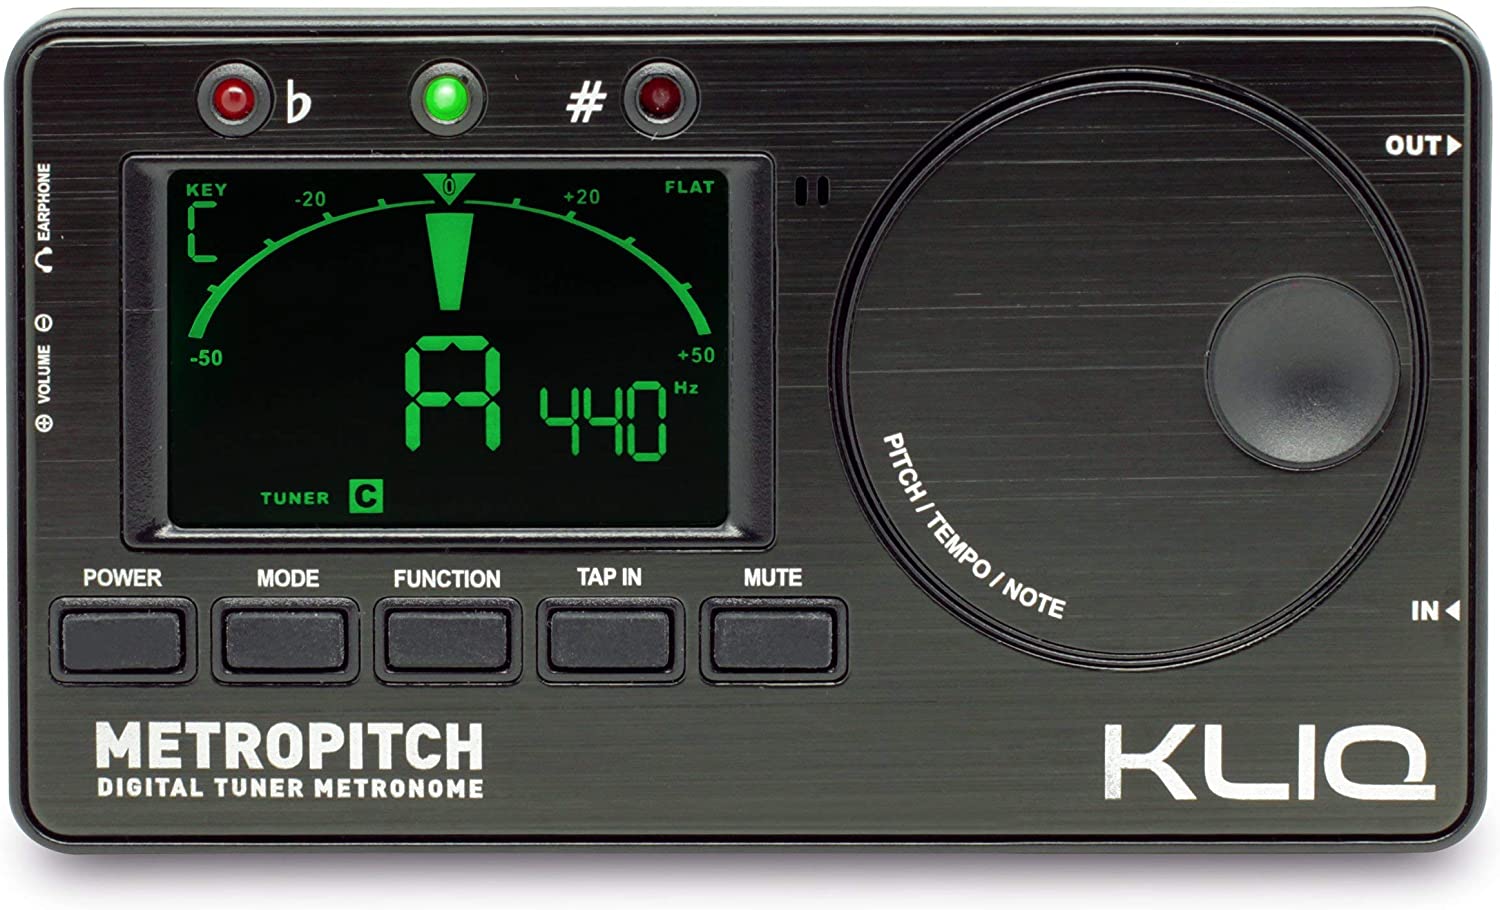
My favorite tuner, this pocket-sized gadget is a three-in-one show stopper and guaranteed to turn some heads at orchestra practice. It can function as a tuner, a metronome, and a tone generator which easily makes it one of the most versatile products on the market. If you are a multi-instrumentalist, this tuner is a no-brainer as you can also use it for tuning the guitar, ukulele, bass, and violin.
If style is your game, it is also available in blue, red, yellow, white, and black- you are spoilt for choice! For all that it does, it doesn’t rank in cost where some higher-end tuners do, so I believe for what it does it’s an all-around bargain.
Pros
– Multi-purpose
– Highly accurate
– Portable
Cons
– Not a clip-on
– May be confusing for a beginner
Tunable App

My final suggestion is the Tunable App. I am well aware that mobile phone tuners are the future of tuning, so thought I would recommend my personal favorite. Tunable has an easy-to-use layout and is an extremely sensitive tuner. If you are happy to have your phone open on your music stand or placed on a nearby surface as you tune, then you should encounter no issues with this app.
It is fantastic for the entry-level violist and encompasses many features including a tuner, a metronome, a recording tool, and a drone. If you are someone who appreciates portability (it is literally on your phone!) and versatility, then this is a must-have. It also is cheaper than many physical tuners on the market which makes it a convenient purchase for students and those on a budget.
Many of my younger students prefer having an app on their phone as it means they are carrying around less and find it more reliable (meaning they definitely won’t forget it!).
Pros
– Affordable
– Portable
– Multi-purpose
Cons
– Relies on your mobile phone
– Has a lot of features, which may confuse beginners looking for a standard tuner
FAQ
We have certainly covered a lot of ground in this guide, from why it is important to tune your viola to mobile apps for just that job, so I thought I would round off with some common questions I encounter every day and some answers. I hope they help!
Answer: Whilst experimental violists may use alternative tunings, the standard tuning for a viola is for the lowest string to be tuned to C4, followed by G, D, and A.
Answer: If you are using a multi-instrumental tuner, you may find your tuner settings are not right for the viola. Ensure your device is set to A=440Hz.
Answer: Many violists consider hardware tuners to be more accurate and reliable; however, software tuners are getting better every year, with many violists preferring them due to their convenience.
Answer: Yes! If you are familiar with tuning a violin, then you should pick up the viola-tuning process quickly as it is the same technique. However, always keep in mind that the pitches of the strings are different from that of a violin.
Final Thoughts
If you are still here- congratulations! You have learned how to tune your viola! Whether you have chosen a software tuner or my favorite hardware tuner, the KILQ MetroPitch, you should have everything you need to get started. Now all that there is left to do is go and put your new knowledge to practice. As a professional player and teacher, I want you to rest assured that these things come with time, and I still have the odd day when I struggle.
Learning to tune your instrument correctly is effectively laying the foundation for a successful introduction to your craft. It will make your practices more enjoyable and allow you to appreciate your progress more (as well as show your fellow musicians what a pro-in-the-making you are).
With that being said, never be afraid to ask for help. Music is as much a collaborative experience as a solo one, and I’m sure you will never have to look far to find support. So crack your case open, whip out your tuner and get to it- there is music waiting to be made! I wish you the best of luck!
Looking for more interesting readings? Check out: